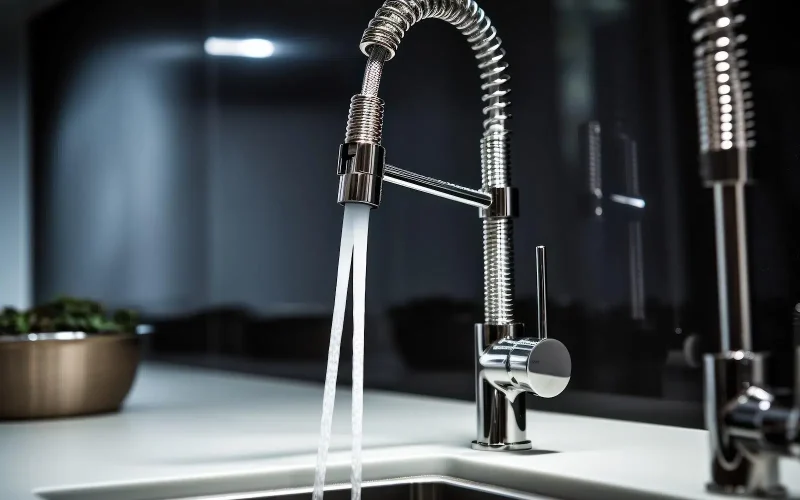
Installing your ก๊อกน้ำอ่างล้างจานพร้อมหัวฉีด may sound like a simple task, but it can turn into a terrible headache.
So, it’s important to be careful during the process to avoid common problems like leaking.
Not sure how to do it? Don’t panic, because this guide will help you choose your kitchen sink faucet with a sprayer and how to install it!
สารบัญ
สลับChoose the Right Kitchen Sink Faucet with a Sprayer
Of course, before installing your new kitchen sink faucet with a sprayer, you had to find the right one!
There are a lot of factors to think about, such as:
Height and Arch
Higher faucets are better if you have larger pots and kitchen items, while lower ones are good for saving space in your kitchen.
Also consider if the arc looks balanced in your kitchen; you can tell this if the faucet’s head reaches the middle of your sink.
Kitchen Faucet With Pull-Out Sprayer or Pull-down
A kitchen sink with a pull-down sprayer is great for deeper and larger sinks because its head can be pulled down.
A pull-out sprayer is your ideal faucet when you want to fill objects like pots on the countertop.
Prepare the Necessary Tools
Make sure you have the right tools to easily install your kitchen sink faucet with a sprayer, which include:
- Pipe wrench
- Plumber’s tape (optional)
- Basin wrench
- Bucket or towel
- ประแจเลื่อน
- Safety gloves and goggles (safety comes first!)
- Your new ก๊อกน้ำอ่างล้างจานพร้อมหัวฉีด
Having these tools will prepare you to get to our next important steps, which will be explored below.
Removing the Old Faucet Step by Step
- Turn Off the Water Supply or Disconnect Supply Lines
Find where your main water shut-off valve or the hot and cold water lines are and turn it off before turning the faucet open to drain any remaining water.
Ensure you place a bucket below to catch any dripping water while you use your adjustable wrench or pipe wrench to separate the lines or pipes from the faucet.
- Remove the Mounting Nuts
Use your basin wrench to remove the nuts that make your faucet attached to your sink.
- Take Out the Old Faucet or Sprayer
Viola! You can carefully remove the old faucet or sprayer from your sink.
- Clean the Sink
Clean your sink’s area to remove any dirt and old glue to prepare for installing your new kitchen sink faucet with a sprayer.
Installing the New Kitchen Sink Faucet with a Sprayer
- Put Silicone
Put a glue called “silicone” around the faucet’s area.
Wait at least 24 hours before putting your new kitchen sink faucet with a sprayer to avoid water leaking below it.
- Insert the New Faucet
Align and put the new kitchen faucet’s hoses into the sink’s hole where you removed the old one.
- Secure the Faucet
Put and tighten the faucet’s nuts or washers underneath the sink while making sure it stays straight.
- Attach the Sprayer Hose
Put the sprayer’s hose into the diverter valve or spout, which is located inside the faucet’s body.
- Connect the Supply Lines
Reconnect the supply lines to their corresponding pipes, and consider wrapping plumber’s tape around them to ensure a tight seal.
- Fasten the Sprayer Head
Align the sprayer head to its hose inside and tighten it by repeatedly turning it clockwise.
Check Your Kitchen Sink Faucets with Sprayer
Turn the water back to check if there’s any leaks in your kitchen sink faucet with a sprayer.
If there’s a leak, ensure to tighten all parts to each other, which are the sprayer head, hoses, and faucet’s body.Need more help on how to install your kitchen sink faucet with a sprayer? We have a วีดีโอ to further help you!


