Replacing old shower valves and trims allows upgrading both functionality and aesthetics.
The process involves key steps like shutting water supplies, installing new valve bodies, connecting trim kits and spouts, integrating flexible supply lines, and testing performance before finishing wall surfaces.
With some careful planning and the right tools, this is an approachable DIY bathroom project. Let’s get into the details and learn how to install a bathroom shower faucet!
Table of Contents
ToggleParts and Accessories of Bathroom Faucets
Typical shower faucets feature three main components:
- Valve Body: Rough-in valves mount behind the wall to control water flow and temperature mixing. These integrate with supply lines.
- Handles & Trims: Decorative handle kits screw onto valve stems to operate flow. Trims cover holes.
- Tub Spout: The exterior spout directs water flow. Some spouts pull up into showerheads.
Other important accessories include:
- Supply Lines: Flexible braided stainless pipes connect valves to supply stops.
- Drain Assembly: Click-release mechanisms enable tool-free drain cleaning.
- Escutcheons: Decorative trim plates cover supply line holes behind spouts.
- Showerheads: Match flow rate and finish for integrated style.
How to Install a Bathroom Faucet?
Follow these key steps to install new shower faucets like a pro:
1. Turn That Water Off
Before removing your existing hardware, locate the shut-off valves controlling water flow to the shower area. You’ll usually find the main home valve near where lines enter from outside. There should also be hot and cold shut-offs specifically for the bath/shower plumbing.
Turn these clockwise fully until tight. Then give your shower handle a gentle flip on momentarily to relieve any pressure left in the pipes. This prevents splashes later.
2. Take It All Apart
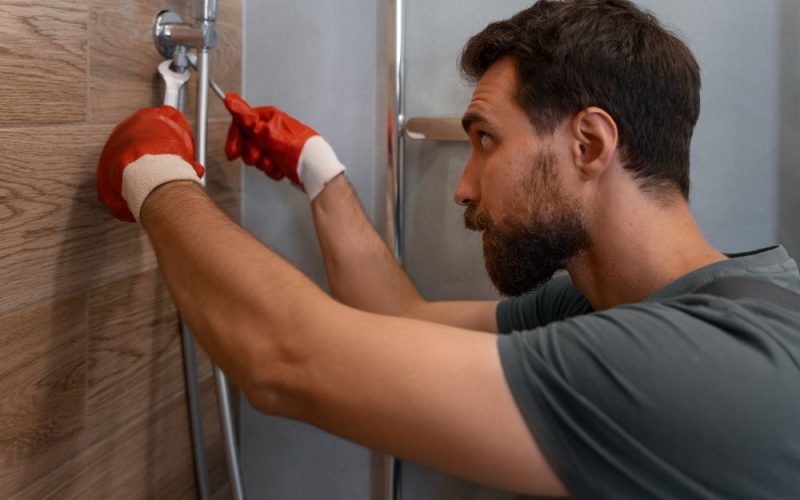
With the water stopped, carefully remove components like showerheads, spouts, knobs and escutcheon plates revealing the nuts and screws holding the valve body itself. Some gentle prying or wiggling may be needed if mineral deposits have basically cemented things in place.
Just be cautious not to damage nearby wall surfaces.
3. Anchor The Valve
Now comes the real meat of the install—securing the new valve body deep within the wall void. Refer to manufacturer guidance on proper positioning in relation to supply lines, usually anchored to an adjacent stud. Make sure it sits squarely and gets screwed firmly into reinforcement blocking if needed so it won’t shift when you crank handles daily.
4. Connect the Dots
With the valve safely mounted out of sight, it’s time to reassemble the pretty faces that control flow. Carefully orient and tighten the handle trim kit, including knobs, levers, plates and gaskets on valve stems protruding from the wall. Then apply a nice silicone bead when inserting the fresh spout into place.
5. Finish Up the Details
Almost done! Use flexible braided supply hoses to easily link valve outputs to supply stops on nearby pipes without kinks. Attach shower arms, showerheads and escutcheon trim plates for a seamless look. Turn those shut-offs back on, check for drips, then admire your handiwork!
Conclusion
With some attentive measuring, proper gear, and patience removing old fittings, installing fresh bathroom shower faucets can give a dated bathroom a completely new look and improved functionality. Seek professional help if connections or access proves overly complex. But otherwise, tackle this project yourself and enjoy the revitalizing results.
Contact Wangel to get the highest-quality products for your bathroom renovation project!


