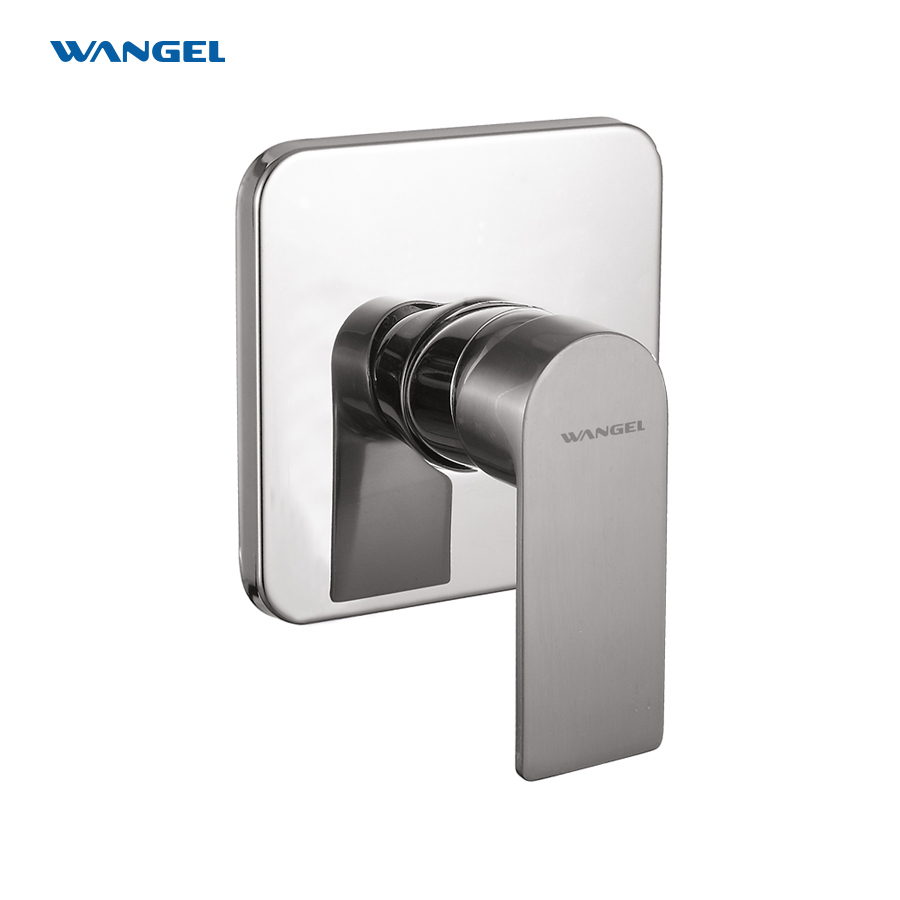
Single-handle shower faucets work by providing an easier way to control water temperature using either of these 2 underlying mechanisms – pull-out valves or turn-around valves.
This faucet type is now becoming more popular than double-handle ones because of its convenience.
That’s because single-handle shower faucets help prevent accidents like burns.
Unlike the double-handle type, single-handle shower faucets can automatically control the water temperature by mixing cold with hot in a single maneuver.
To learn more about single-handled shower faucets, it’s important to learn the difference between their components first.
Read on and discover about the following, too:
- How to operate single-handled shower faucets
- Fixing a shower faucet
Table of Contents
ToggleDifference Between a Pull-Out Valve and a Turn-Around Valve
Pull-out valves and turn-around valves are the mechanisms that can be found in single-handled shower faucets.

Pull-out Valve
When the faucet handle is pushed in, it seals off all the water.
But by pulling the handle out, it allows water to rush into the shower spout above.
Meanwhile, turning the handle to the left or right increases the amount of one water temperature flowing into the tube and mixes with the other, either warmer or cooler.
Turn-around valve
By turning the faucet handle, cold and chilly water flows first from the shower.
And as you continue to turn the faucet handle, the water mixes in the tube, flowing at a slightly warmer temperature.
If you turn the faucet handle even further, the tubes will allow the flow of hotter water in the shower.
How to Operate a Single Handle Shower Faucet
There are 2 ways to operate a single-handle shower faucet.
You can pull out the faucet handle to open the water flow. Then, turn the handle to adjust the water temperature.
On the other hand, you can just easily turn the faucet to start the water flow.
How to Fix a Leaking Single-Handled Shower Faucet
Fixing a single-handled shower faucet needs proper assessment to effectively determine which part is damaged.
Here’s how to get started:
Step 1: Determine the location of the damage
Open and close your faucet to determine which part is leaking.
Step 2: Check the faucet handle
There may be no need to replace your entire faucet in this case.
Instead, adjust your faucet handle by replacing the shower valve cartridge.
Step 3: Replace the shower valve cartridge
Remove the faucet handle.
Remove the clip that holds in the cartridge by using a small screwdriver.
Then, remove the handle washer and twist or loosen the cartridge using pliers.
The cartridge may be difficult to remove.
If that happens, get a cartridge puller.
However, be sure to find the type that works with your faucet brand.
Step 4: Put your new shower valve cartridge
Reverse the steps in removing the cartridge.
You can use the old cartridge as a reference when looking for a replacement.
Your manufacturer can also help you with the replacement and get a cartridge puller, too.
In some cases, single-handle shower faucet manufacturers may offer free replacements depending on the product warranty.


