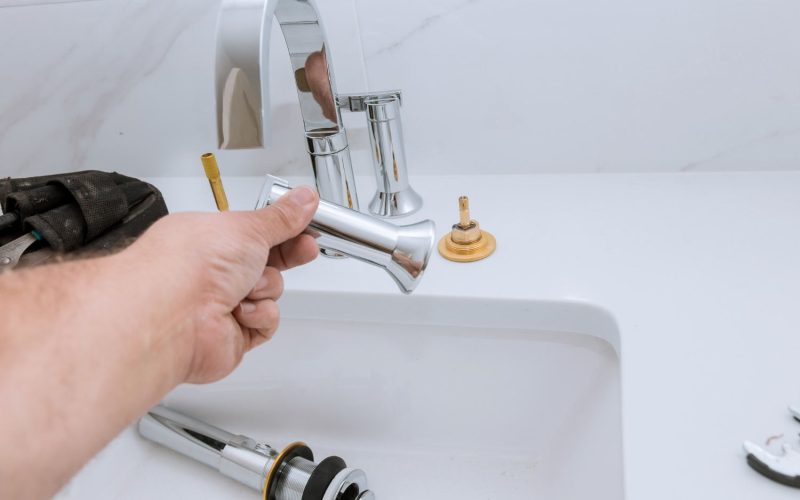
Dealing with a bathroom faucet leaking at the base, particularly when turned on or off, can be a common issue.
Whether it’s a two-handle bathroom faucet or a basin faucet, addressing leaks promptly is crucial to prevent water wastage and potential structural damage.
This guide provides insights into identifying and resolving the causes behind a faucet leaking at the base.
From worn-out O-rings to loose connections, understanding the key factors allows homeowners to take effective steps in fixing the issue and ensuring the proper functioning of their bathroom fixtures.
Table of Contents
ToggleCommon Causes Why a Bathroom Faucet Leaks at the Base
There are a few common reasons why your bathroom faucet leaks at the base when turned on or off.
For your reference, here are some factors to look out for when the base of your basin faucet leaks when you use it.
1. Worn-Out O-Ring: The O-ring, located at the base of the faucet handle, can degrade over time, leading to water seepage.
2. Loose or Damaged Handle: A loose or damaged handle can cause water to escape from the base of the faucet.
3. Corroded Valve Seat: Corrosion of the valve seat can prevent the proper sealing of the faucet, resulting in leaks at the base.
4. Faulty Washer: A faulty washer may not create a watertight seal, leading to leaks at the base.
5. Loose Connection: Wear and tear can cause connections between different faucet components to become loose, allowing water to escape from the base.
8 Simple Steps to Fix a Leaking Bathroom Faucet at the Base

Step 1: Turn Off the Water Supply
Begin by turning off the water supply to the faucet before starting any repair.
Step 2: Identify the Cause
Determine the cause of the leak, which may include issues like a worn-out O-ring, loose or damaged handle, corroded valve seat, faulty washer, or loose connection.
Step 3: Gather Necessary Tools
Collect essential tools such as an adjustable wrench, channel locks, screwdriver, plumber’s tape, and a bucket to catch water.
Step 4: Test the Faucet
Turn on the faucet and let it run for a few minutes. Check for any remaining leaks at the base.
Step 5: Replace O-Ring or Washer
If the leak is due to a worn-out O-ring or faulty washer, replace these components to create a watertight seal.
Step 6: Tighten Connections
Inspect for loose connections between different faucet components and tighten them to prevent water from escaping at the base.
Step 7: Inspect and Replace Cartridge
If the leak is caused by a faulty cartridge, inspect and replace it to control water flow effectively.
Step 8: Professional Assistance
If uncertain about the repair or if the issue persists, consider calling a professional plumber for assistance.
Following these steps, along with using the necessary tools, can effectively address a leaking bathroom faucet at the base, preventing water wastage and structural damage.
Key Takeaway
Fixing a leaking basin faucet at the base involves a systematic approach. Start by identifying the cause, turning off the water supply, and using essential tools.
Inspect and replace components like O-rings or washers, tighten connections, and consider professional help if needed.
These steps prevent water wastage and structural damage.
If the leaking persists, seek professional help right away.


