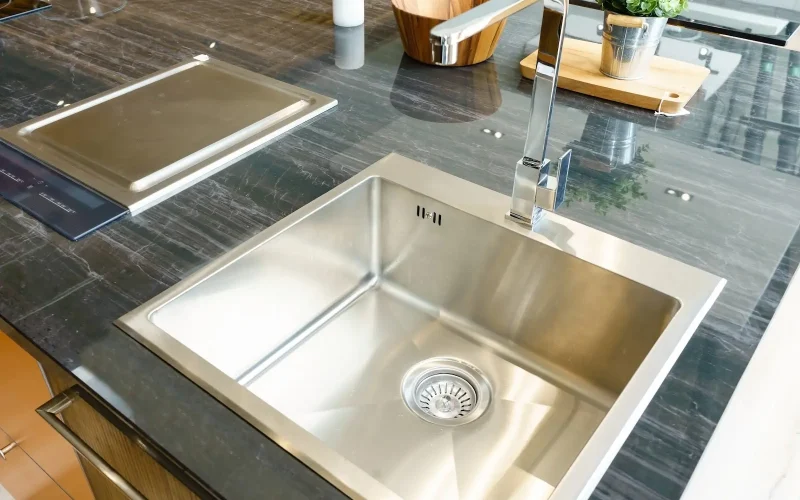
Stainless steel sinks are one of homeowners’s favourites because of their elegant look and long lifespan.
The great news is that you can install one yourself to save money and adjust it according to your liking.
Don’t know how to get started? Don’t panic, as this article will guide you through everything from preparation to making sure your sink is ready!
Table of Contents
ToggleHow do I install a Sink?
Installing a sink goes through different processes, which include:
- Preparation
- Securing the sink
- Measuring and marking
- Attaching the sink to the countertop
- Choosing the right stainless steel sink
The process might be difficult, but with patience, you have a guaranteed successful installation!
Which is why we will also help you as we discuss the process deeper below.
1. Preparation
First, you need to prepare the needed tools for attaching your sink to your countertop, such as:
- Ruler
- Pencil
- Tape measure
- Drill and drill bits
- Safety glasses and gloves
- Screwdrivers (flathead and Phillips)
- And much more
First, remove the small metal clips that attach the old sink to your countertop.
Then don’t forget to carefully separate your old sink from the pipes to avoid future damage, like leaking.
2. Choosing the Right Stainless Steel Kitchen Sink
Of course, you have to go through different sink types and brands, like Wangel.
This will also depend on how you install it while making sure the sink fits to your liking.
There are a lot of stainless steel sink types on the market with their own unique benefits, such as:
Small Stainless Steel sink
The perfect choice when you have a smaller kitchen and only need to do specific tasks like washing vegetables.
And as you can guess by their name, they’re usually around 17×15 inches, which is smaller than regular sinks.
Stainless Steel Laundry Sink
These sinks can have two deep basins or the sink’s bowl-shaped part where you can wash your dishes!
Because of their unique design, these sinks are also perfect for many challenging tasks, including:
- Washing pets
- Cleaning gardening tools
- And much more
Stainless Steel Farmhouse Sink
This stainless steel sink is known for its front, or apron, that is shown at the countertop’s forefront.
Fun fact: While they’re strong and have a long life span, they’re bigger and deeper than standard sinks!
3. Measuring and Marking
You can now measure if your new stainless steel sink fits the countertop’s hole and further cut it if needed.
Important reminder: Take note of the type of sink you’re setting up and double check your measurements before cutting.
Need more help on how to measure and mark your stainless steel sink? We have a tutorial video for you.
4. Sink Installation
If you’re installing a drop-in sink, put a glue called silicone on the edges of it before placing it tightly into the hole.
While undermount sinks need more silicone, you’ll also need a lot of metal clips to attach them when they dry.
Extra help: Here’s a video that we hope might further help you in this important process!
5. Securing your Stainless Steel Sink
Now you have to ensure you correctly reconnect all pipes to your new stainless steel sink and
Let the silicone dry for at least 24 hours to make sure it has a strong seal before using the sink.
Lastly, check if there’s no leak around the sink and pipes before you and your kitchen can enjoy the new one!


