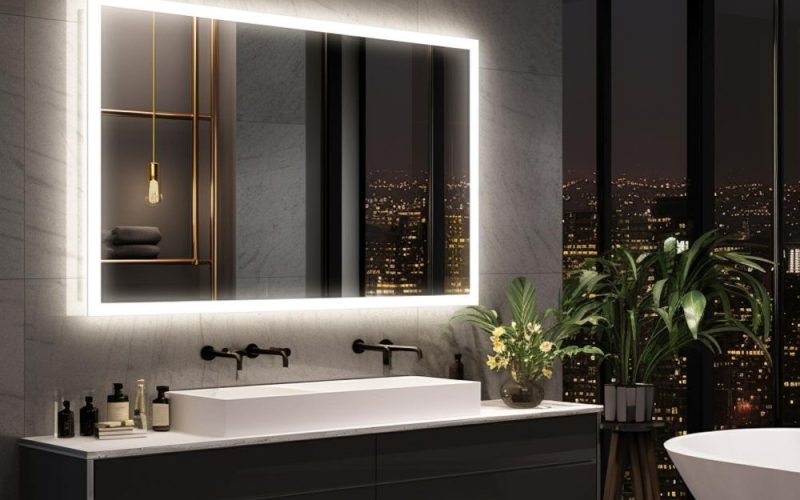
Backlit mirrors are a beautiful and functional addition to any bathroom, providing a touch of luxury and improved lighting. But what happens when the lights behind your mirror start to dim or flicker?
You will need to replace the lights.
How do you replace the lights of a backlit mirror? To replace the lights of a backlit mirror, you need to follow this guide along with your manufacturer’s instructions. It’s a pretty straightforward process you can tackle yourself.
This guide will walk you through the steps involved in replacing your vanity mirror light (bathroom cabinet mirror replacement) and restoring the radiant glow to your mirror.
Table of Contents
ToggleBefore You Begin
Before starting, gather your supplies. You will need:
- Replacement bulbs or LED panels (ensure compatibility with your specific mirror model)
- Screwdriver (appropriate for your mirror’s screws)
- Gloves (optional, for added grip)
- Safety glasses (recommended to protect your eyes)
Next, identify your mirror type. Most backlit mirrors fall into two categories: bulb-based mirrors which utilize replaceable bulbs, typically halogen or incandescent. LED panel mirrors employ integrated LED panels that may or may not be replaceable, depending on the model.
Then, consult your mirror’s manual for specific instructions and compatibility information. If you can’t locate it, search online for the model number and download a digital copy.
Replacing Vanity Mirror Light Bulbs
- Turn off the power. Locate the circuit breaker controlling the bathroom or vanity lighting and turn it off completely.
- Depending on your mirror’s design, you might need to remove a cover panel or access the bulbs from behind the mirror itself. Refer to your manual for specific instructions.
- Carefully unscrew the burnt-out or malfunctioning bulbs from their sockets. Dispose of them responsibly.
- Screw in the new, compatible bulbs, ensuring they are securely tightened.
- Turn the power back on and test the new bulbs. If everything functions correctly, reassemble the mirror cover panel or reinstall the mirror according to the instructions.
Replacing LED Panels (If Applicable)
- Just like with bulbs, prioritize safety by turning off the power to the mirror circuit.
- LED panels can be more intricate to replace. Refer to your mirror’s user manual for detailed instructions and compatibility information for replacement panels.
- The manual will guide you on accessing the LED panel, which might involve removing screws or clips. Once accessed, follow the instructions for disconnecting any wires and installing the new panel.
- Securely connect any wires, reassemble the mirror, and turn the power back on. Test the new LED panel for proper functioning.
Additional Tips
- When replacing bulbs, ensure the new bulbs have the same wattage as the originals. Using higher-wattage bulbs can damage the mirror’s electrical system.
- For LED panels, double-check the compatibility of the replacement panel with your mirror model to ensure proper size, voltage, and connection type.
- If you’re unsure about any step, especially when dealing with electrical connections, don’t hesitate to consult a qualified electrician.
Key Takeaway

Replacing the bulbs or LED panels in your backlit mirror is often a manageable DIY project. With a little preparation and the help of your mirror’s manual, you can restore the radiant glow to your vanity mirror light and enjoy its benefits for years to come.
Wangel Group offers a variety of stunning backlit mirrors with superior lighting technology. Explore our collection and find the perfect mirror to illuminate your bathroom and simplify your morning routine!


